After seeing other posts online about using a Copic airbrush to paint poppers I thought I'd have to try it myself.
First - The Copic airbrush is a system that uses markers as an ink source, and this allows the changing of colors to take literally only a few seconds. Clean up of the system is likely not necessary, and I've done nothing to clean mine yet.
It comes in a few setup ups. I got the one with the grip and an air can. Other setups are available with a grip and a can (without compressed air in it) that can connect to your own hose and air compressor. A third setup comes with the grip, the can to connect to a compressor and the hose and a base to hold up the can when not in use.
Of course the cans of compressed air have a time limit to their use. Mine is rated to have about 7 minutes of continuous air. If you connect it to your own air compressor then your air supply is unlimited.
My investment consisted of the grip and air can and 4 markers. At a local art supply store I bought all these items for about $50.
 |
| 1 Grip + 1 Can + 4 Markers = $50 |
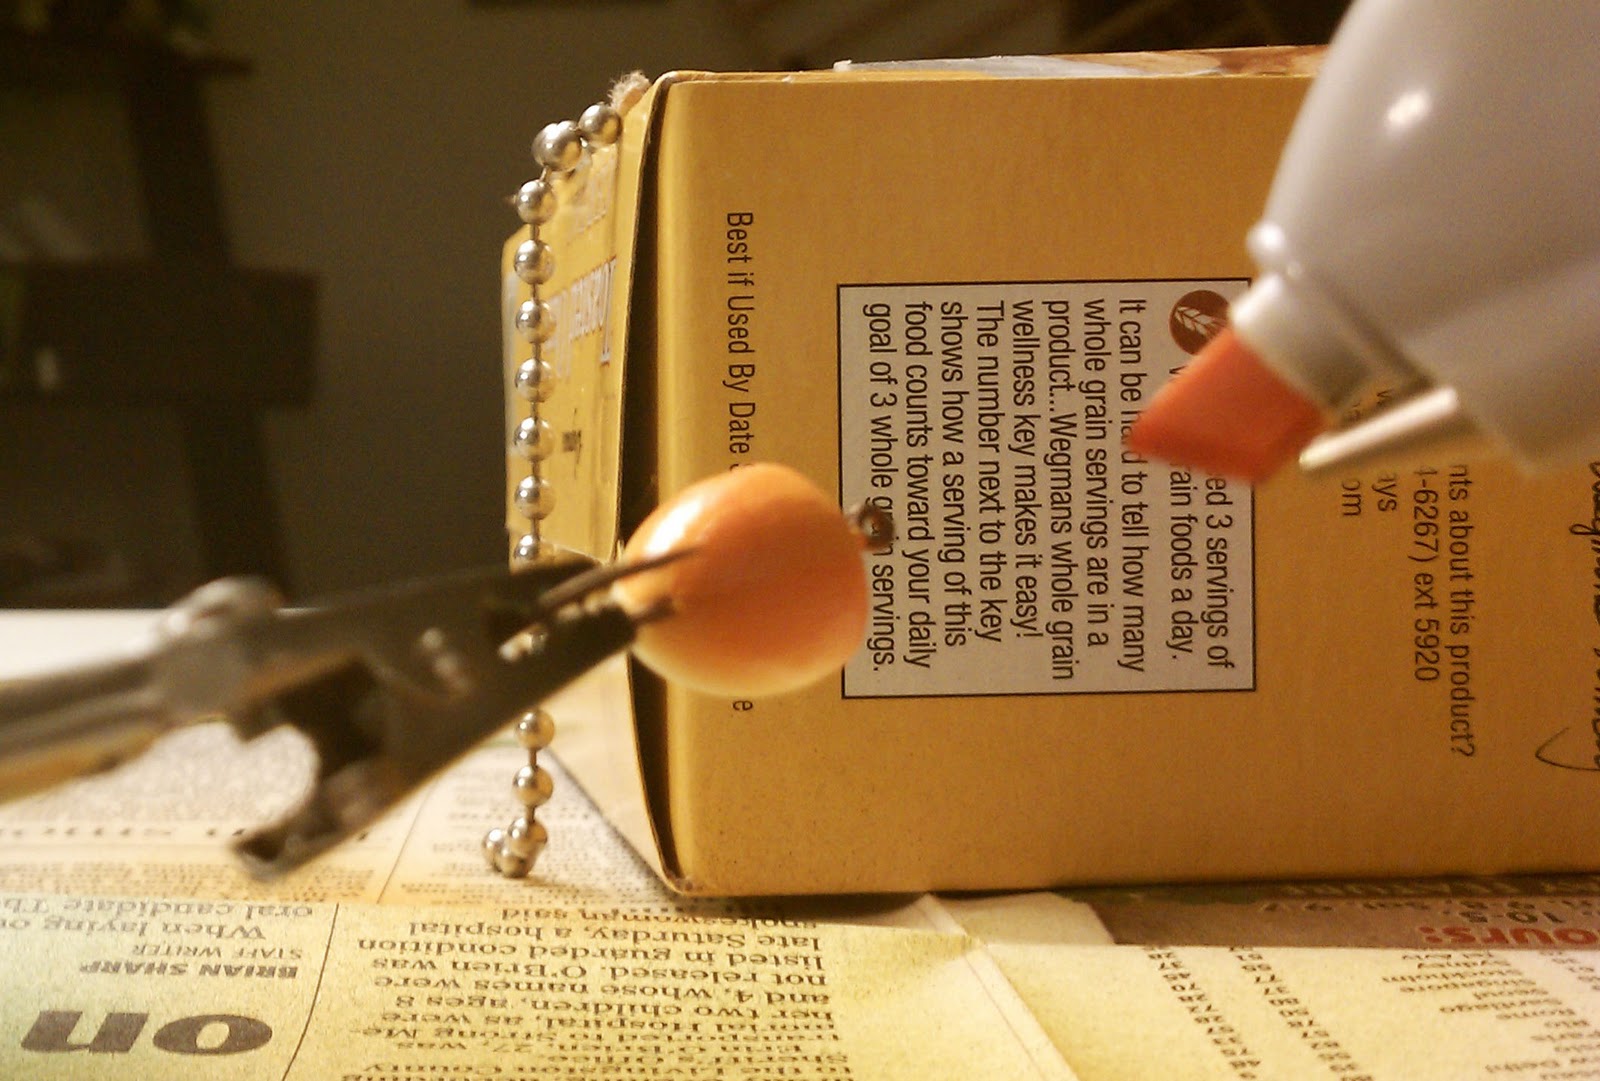
First I had to super glue the hooks to the popper head. Then I put some Elmer's wood filler in the slot. I did most of them first, then remembered I had heard that thinning the wood filler with water worked well. I did that and found it much easier to push it into the slot than when it wasn't thinned.
 |
| Glue hooks to heads |
 |
| Glued |
After the wood filler dried I took a nail file and sanded it smooth.
 |
| Top hook slot filled. Bottom hook slot sanded. |
Next, I painted the bottom of the popper white. This covers the wood filler and gives an even white color if you want to leave it white on the belly.
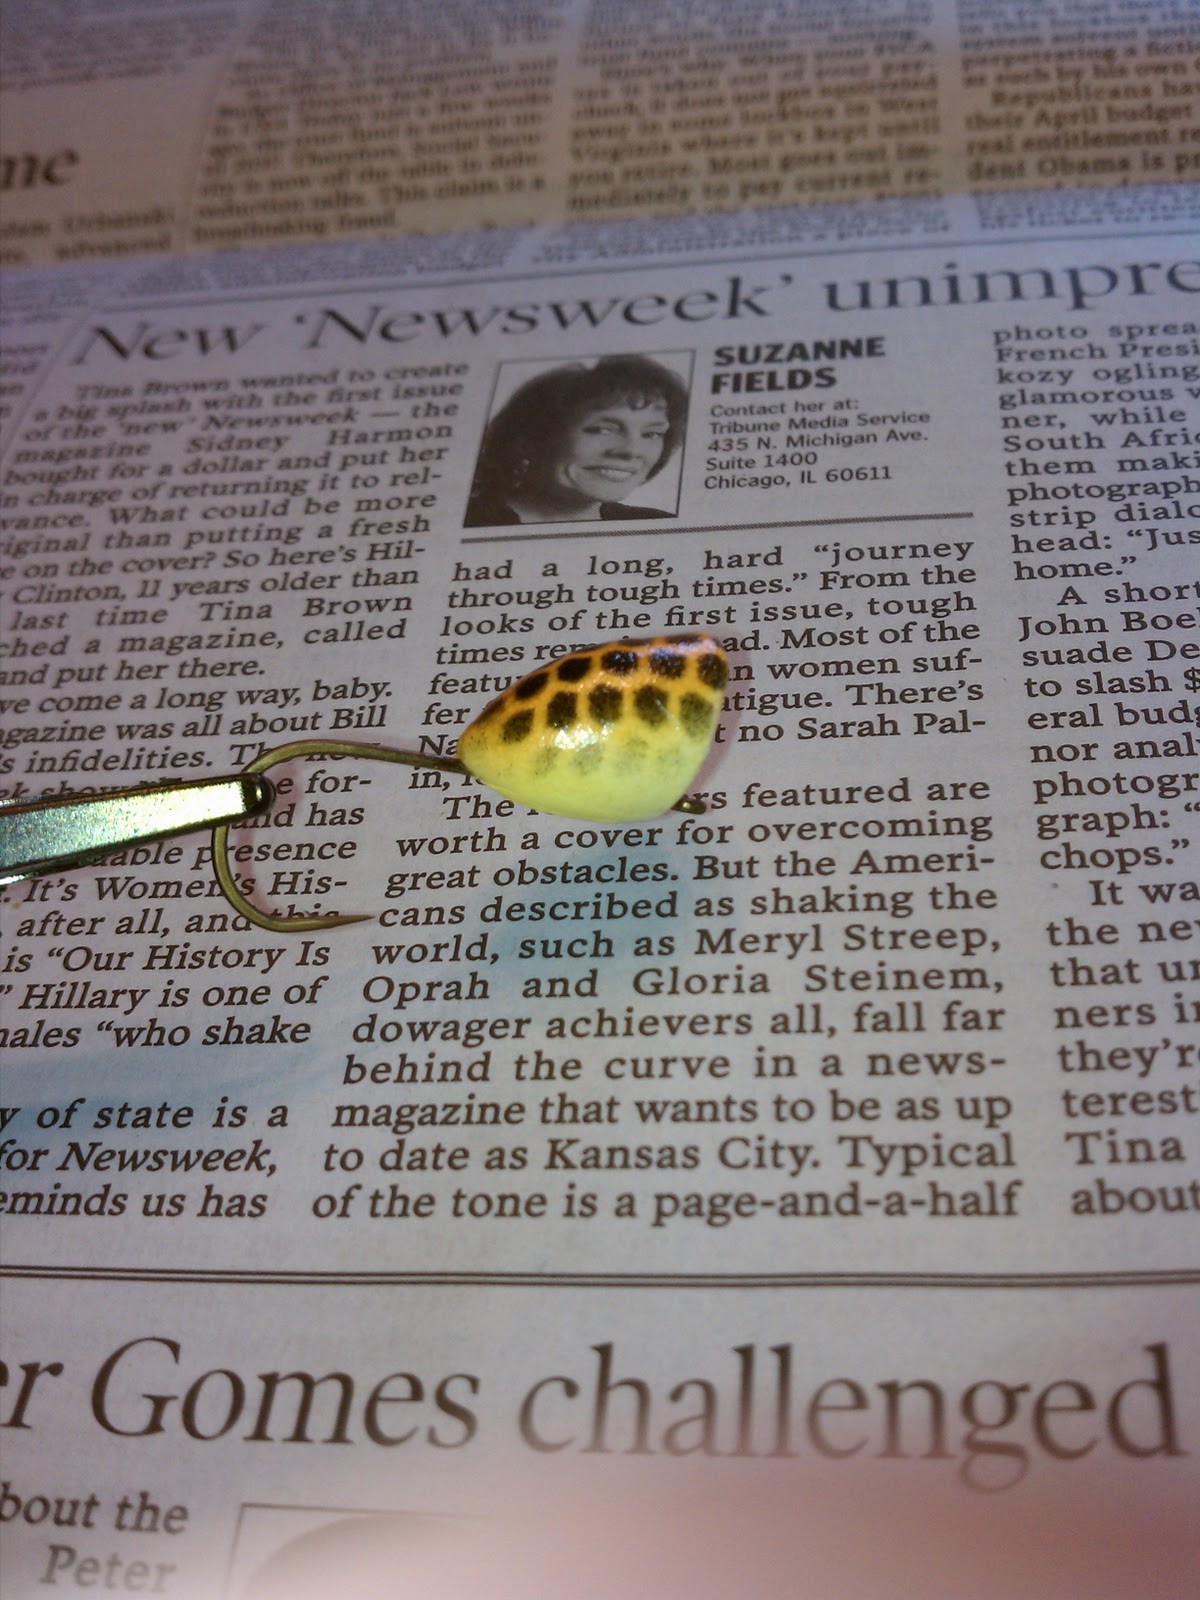
Now comes the Copic airbrush. This isn't too hard to use. I just load up the first marker and hold it back a few inches from the popper and make short bursts with the air. Just like spray paint, if you hold it in one spot too long it will get darker and even build up to the point where it will drip.
 |
| Light colors first |
I typically do the lighter color on the bottom first, then a darker color on top second.
 |
| Dark colors second |
Using a piece of fish net material (raid your wife's fabric supply) you can make a nice patter by spraying through it.
Once I'm satisfied with the airbrush results, I switch to another source for color. I use markers or acrylic paint to make eyes and other patterns on the popper.
I put the eyes on in 3 steps. First I put black, let it dry, put a smaller white dot, let that dry, then finally a smaller black dot, and let that dry. I use the back end of drill bits for different sizes. I found that dipping the bit into the paint to get a drop on the end, then gently pressing that drop on the popper slowly works best. I don't really try to get the bit to touch the popper, but let the paint spread out gently, which it does uniformly. I found trying to rock the bit back and forth to get it to touch the rounded edge of the popper resulted in poor results. Letting the drop just press itself out worked well and gave good round results.
 |
| First black drop |
 |
| Second drop in white |
 |
| Third drop in black. A group of poppers just hanging out. |
 |
| A few more details put on with a marker |
After I'm done painting the bodies I put on some 5 minute epoxy to help protect all the work and provide some durability while fishing. Next up, feathers to decorate the tail end!
Overall I'm really please with both the Copic Airbrush and the eyes. Many people that have seen these have asked me if you can use other markers. I do believe that I saw somewhere on the internet where someone said there was another brand of marker you could use, but I don't remember that source. The grip that holds all the stuff together does have a specific shape and size, so the marker has to fit. I did hold a different marker outside of the grip, and it did blow the ink out....so there is some potential. I think having the marker fit into the grip would be the easiest approach. I'd be interested to hear if anyone has success with other (cheaper) markers.
Stay tuned to learn how to get more out of your can of air. Coming soon!